Run the image you like through a dedicated upscaler. Fast super-resolution models enlarge 2-4x for a fraction of a cent, creative-detail upscalers synthesize new sharpness for a few cents, and pro photo upscalers handle print work. It works on any source image, whatever tool made it.
What is the best AI model for high-quality images?
There is no single best - match the model to the job. Reach for one model for photorealism, another for legible in-image text, another for strict prompt adherence. ModelRunner exposes hundreds of image models behind one API so you can run the same prompt through several and keep the best result.
How can I generate high-quality AI images cheaply?
Explore at low resolution on a per-megapixel-priced model so each of your ~20 experiments costs pennies, then upscale only the one or two keepers to 4K. Because billing is per request, you pay full price only for the images you actually keep.
Why don't AI chatbot images look truly high-res?
Chat products treat image generation as a side feature and cap resolution and sharpness to keep the chat fast and cheap. Purpose-built image models generate at higher native resolution with better prompt adherence and in-image text.
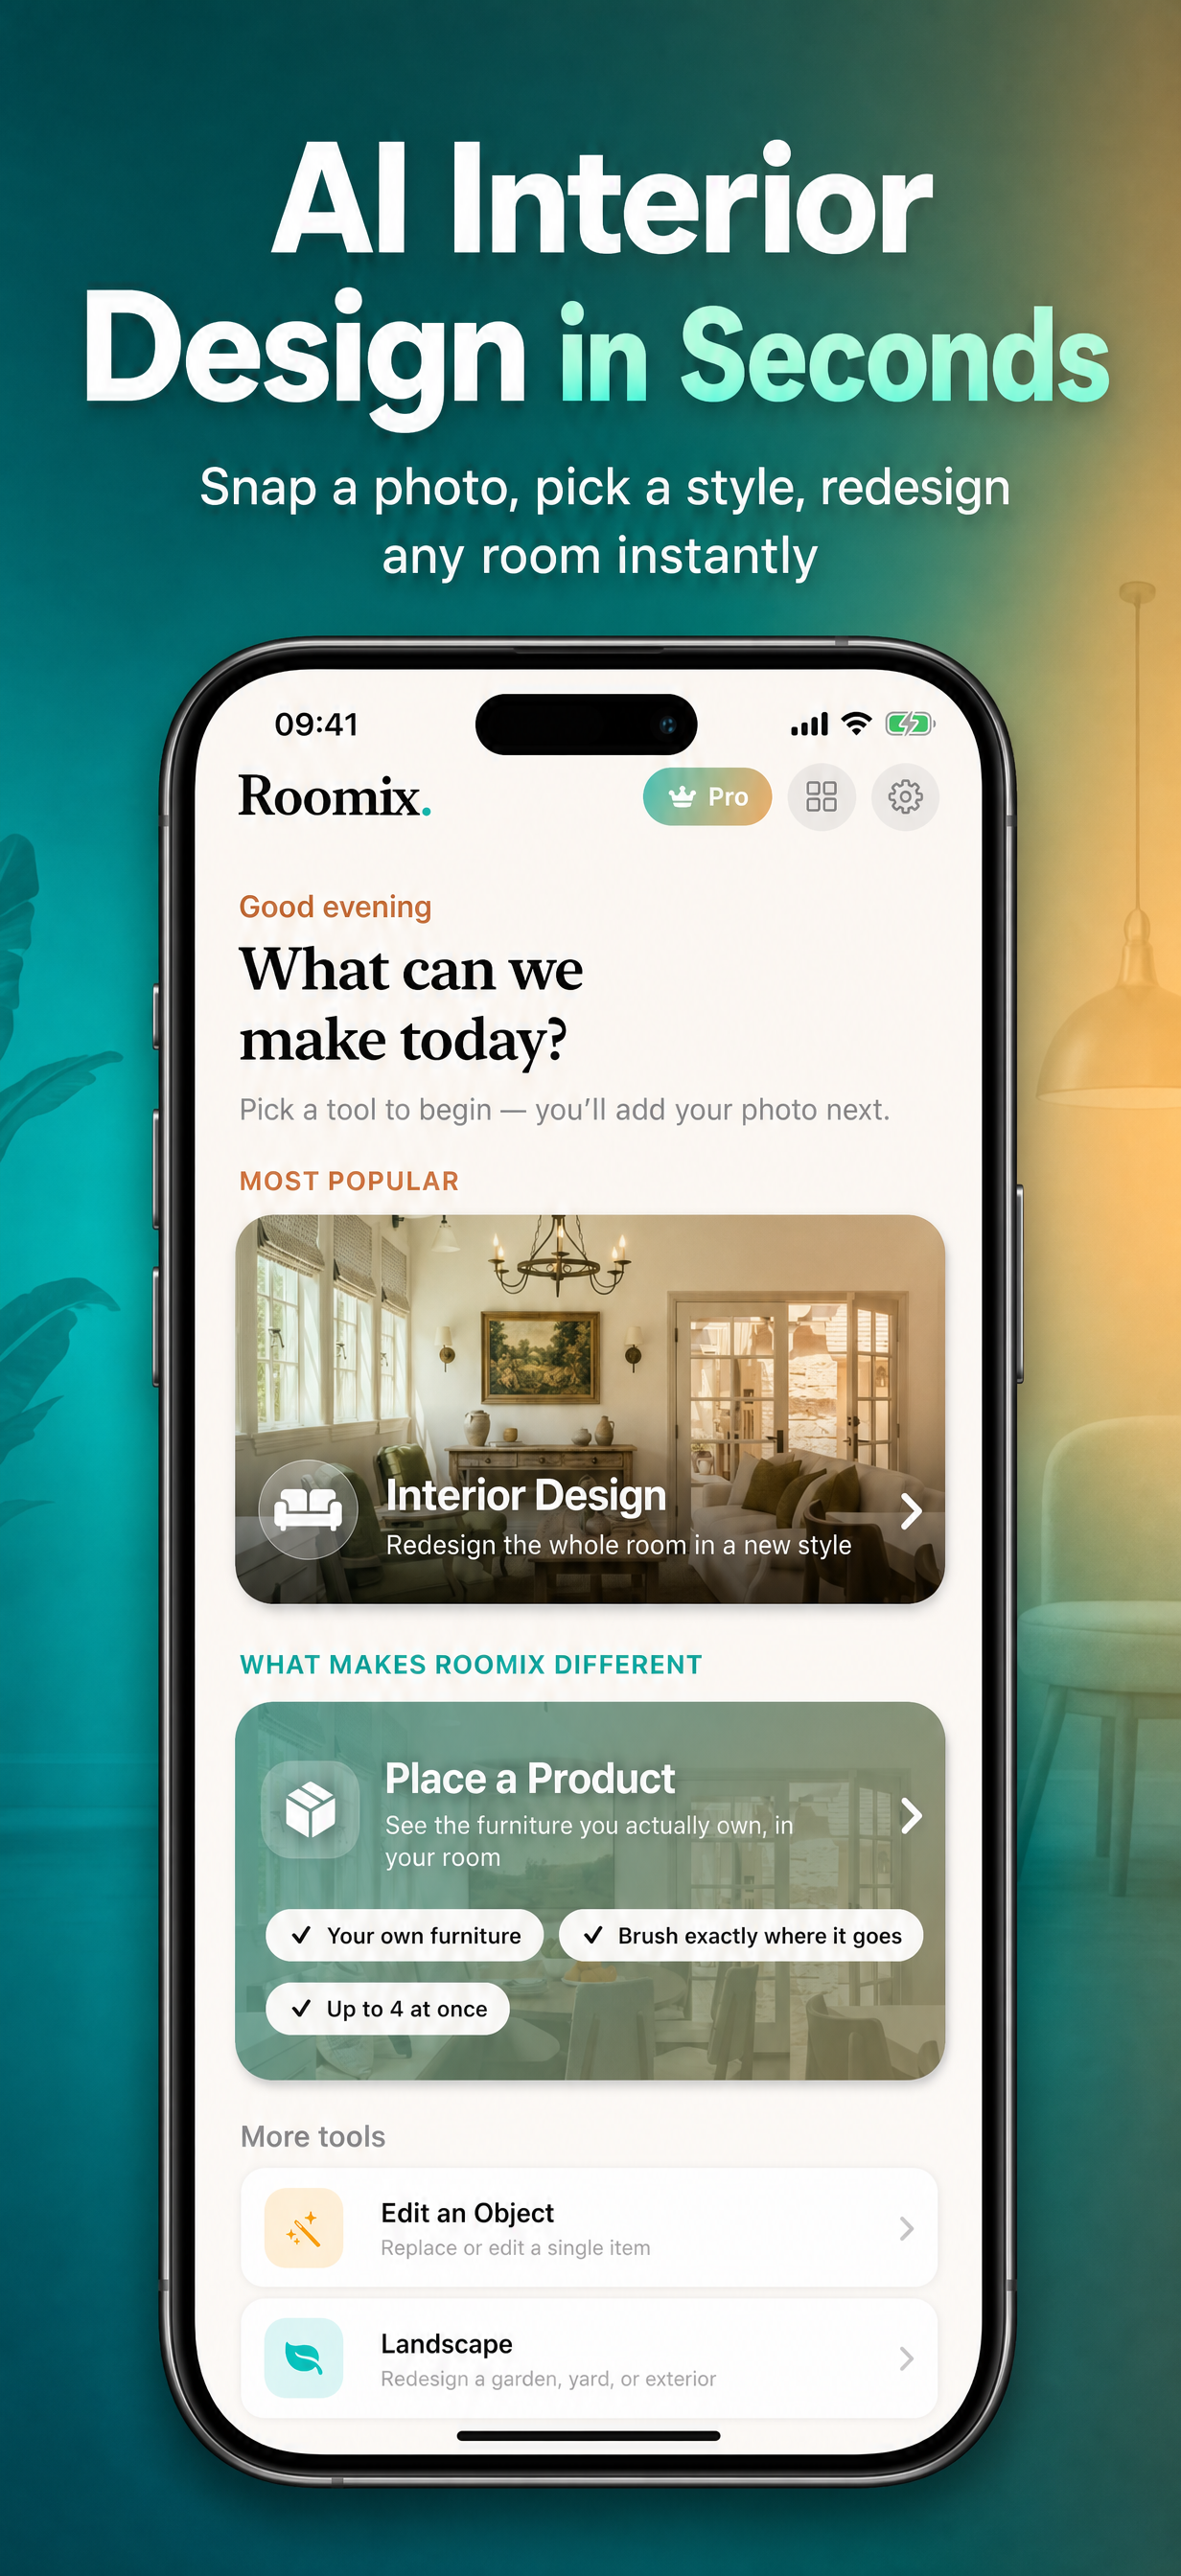
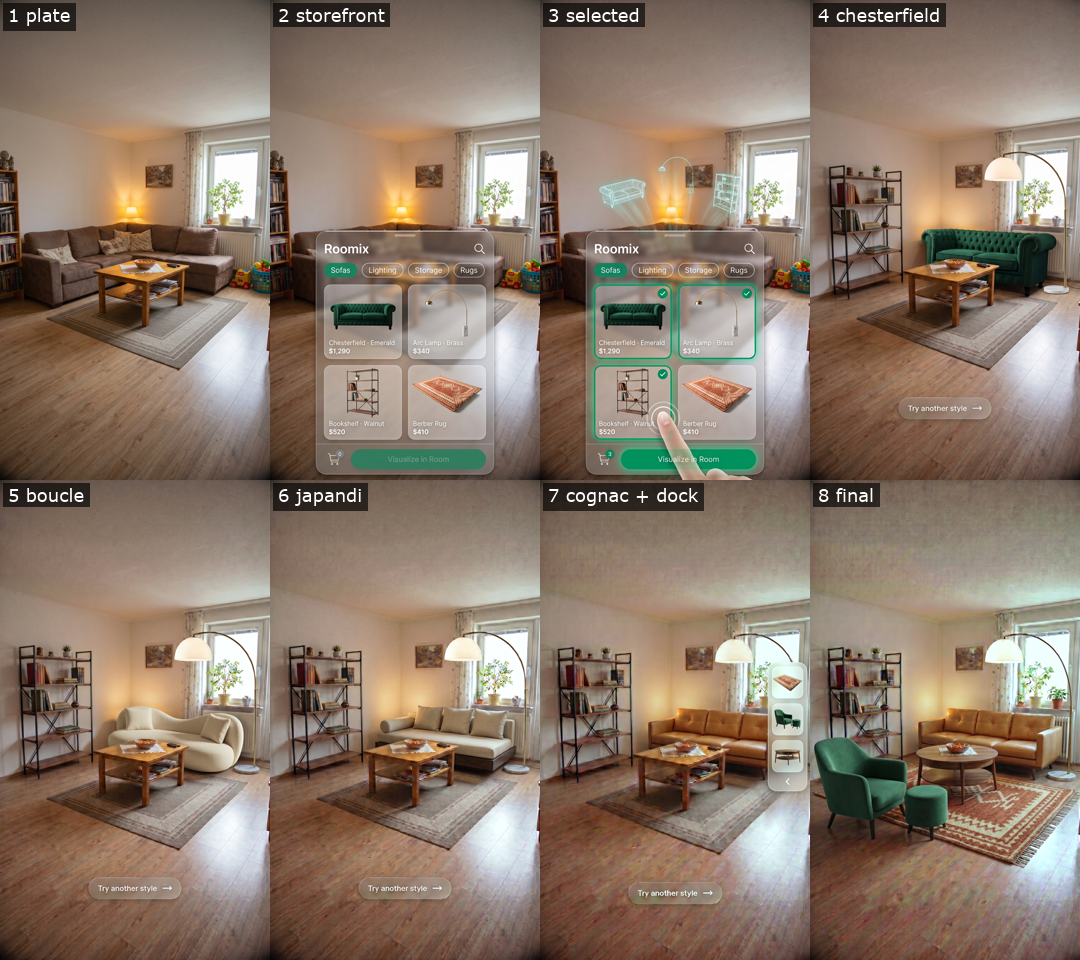
Generate App Store marketing screenshots with AI for a home redesign iOS app, device mockups and ASO-aware headlines included, in one Claude Code session.
Generate a vertical video ad with AI for an iOS app: keyframe anchoring lets an image model own product identity and a video model own only the motion.
Image generation API pricing compared across 15 text-to-image models, from $0.0025 to $0.25 per image. Live per-model rates, pay-per-use, no subscription.
Getting genuinely high-quality, 4K AI images is less about hunting for one magic model and more about two moves almost nobody bothers to combine: upscaling what you already have, and generating on a model actually built for images. The frustration is common — a designer on an AI forum recently asked whether any tool makes extremely high-quality images, because the "HD" coming out of chat assistants never looks HD enough once you zoom in or drop it into a real layout.
There are two levers that fix that, plus a pricing trick that makes using both of them cheap. This guide walks through all three.
Why Chatbot Images Never Look Truly High-Res
Chat assistants treat image generation as a side feature bolted onto a text product. To keep a conversation feeling fast and cheap, they cap output resolution and lean on settings tuned for "good enough at thumbnail size" — not for print, a full-bleed banner, or anything you'll zoom into. The picture looks sharp inside the chat window and falls apart the moment you scale it up.
Purpose-built image models don't make that trade. For them, image quality is the entire product, so they generate at higher native resolution with more real detail to begin with. That single difference is why the same prompt can look mediocre in a chatbot and crisp on a dedicated model — and it's the reason the two levers below exist.
Lever 1 — Upscale Your AI Images to 4K (the Cheap Path)
The fastest route to a high-res image is to not regenerate it at all. Keep generating wherever you already do, then run the keeper through a dedicated upscaler. Upscaling works on any source image — whatever produced it — and it is the single cheapest quality upgrade available. Three flavors cover almost every need, all sitting in the upscaler category:
Fast super-resolution — Real-ESRGAN. Enlarges 2–4×, with optional face enhancement, priced by compute-second — a fraction of a cent per image. The sensible default when a source is already reasonably clean.
Creative-detail — Clarity. Synthesizes new detail guided by a prompt, with creativity and fidelity controls, priced per megapixel — a few cents. Best when the source is soft or low on detail and you want the upscaler to invent plausible texture.
Pro photo — Topaz. Up to 4×, with dedicated photo/CGI/text modes plus denoise, sharpen, and face enhancement. This is the one for print and photography.
All three run through the same image-to-image API, so wiring up "generate, then upscale" is one extra call, not a new integration.
Lever 2 — Generate From a Dedicated Text-to-Image Model
Upscaling rescues an image you already like. The other lever is starting from a better image. Purpose-built text-to-image models beat chat-baked generation on the things that actually decide quality: fidelity, prompt adherence, native resolution, and legible in-image text.
Three to reach for first:
Seedream 5 — ByteDance's flagship, with strong all-round photoreal quality.
Nano Banana 2 — Google's model; excels at infographics and accurate in-image text, with optional search grounding.
GPT Image 2 — best-in-class instruction following and embedded text.
There is no single winner, though. The real skill is matching the model to the job:
The point isn't crowning one "best AI image model." It's having all of them behind one catalog so you can run the same prompt through several and keep whichever result wins for your image.
The Cost Trick — Explore at Low Resolution, Upscale Only the Keepers
Here's the part the "best image generator" listicles skip. Every model on the platform is priced in one of three ways, and knowing which one is what unlocks a real saving:
Per output — a flat price per image, whatever the resolution. Seedream 5, GPT Image 2, and Imagen 4 are priced this way.
Per megapixel — the price scales with resolution, so a small image costs less than a large one. Nano Banana 2, FLUX.2, Stable Diffusion 3.5, Qwen-Image, and HunyuanImage are priced this way.
Per second — you pay for compute time. Most upscalers are priced this way.
The trick falls straight out of the middle mode. On a per-megapixel model, resolution is cost — so do your exploring at low resolution. Generate your ~20 variations small, where each one costs pennies, pick the one or two keepers, and upscale only those to 4K with a near-free super-resolution pass or a few-cents creative upscaler. You've decoupled the cost of exploration from the quality of the final image.
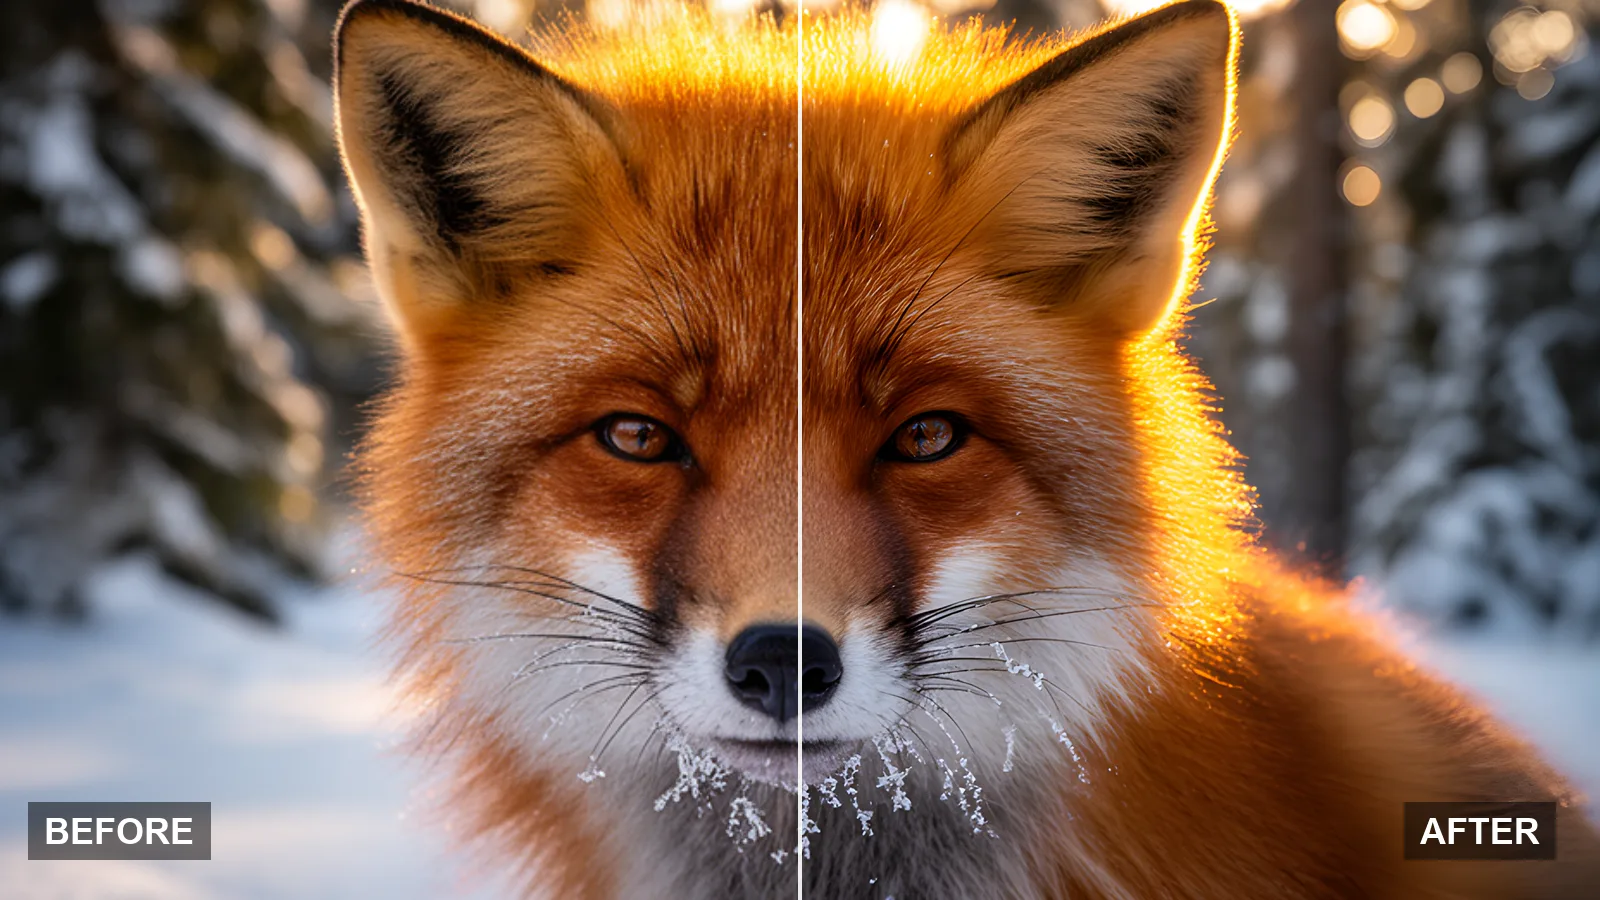
Exactly that workflow, dogfooded: a cheap low-resolution generation on a per-megapixel model (left) put through a super-resolution upscaler (right). Only the keeper ever earns the upscale pass.
The caveat that makes this load-bearing: it only pays off on per-megapixel models. On a flat per-output model, a low-resolution image costs exactly the same as a full-size one, so shrinking it saves you nothing. Run your experimentation phase on a per-megapixel model — Nano Banana 2, FLUX.2, Stable Diffusion 3.5, Qwen-Image, or HunyuanImage — not a per-output one, and reserve the per-output models for final renders where you already know what you want. For exact, current rates, check the pricing page rather than trusting a number in a blog post.
Why One Platform Makes This Workflow Practical
Both levers and the cost trick quietly assume one thing: that every model and every upscaler sits behind the same interface. That's the entire reason to run this on ModelRunner rather than juggling accounts.
One API, one key, every model. Hundreds of production models — image generators and upscalers across providers — answer the same request shape, so swapping models is a one-line change. That's what makes "try them all on one prompt" cheap enough to actually do.
An asset library that removes the busywork. Every output is automatically hosted, indexed, and searchable in your asset library, so a generated image is one click from becoming the input to the next model — no re-downloading and re-uploading between the generate step and the upscale step.
Usage-based, prepaid-credit billing. You pay per request, with no subscription and no idle GPU — which is precisely why the low-res trick saves real money: you only ever pay full price for the keepers.
A playground and MCP. Every model has a browser playground to test a prompt, and MCP exposes the whole catalog as tools inside Claude Code, Cursor, or Windsurf — so an AI agent can generate and upscale without leaving your editor.
Run the image you like through a dedicated upscaler. Fast super-resolution models enlarge 2–4× for a fraction of a cent, creative-detail upscalers synthesize new sharpness for a few cents, and pro photo upscalers handle print work. It works on any source image, whatever tool made it.
What is the best AI model for high-quality images?
There is no single best — match the model to the job. Reach for one model for photorealism, another for legible in-image text, another for strict prompt adherence. ModelRunner exposes hundreds of image models behind one API so you can run the same prompt through several and keep the best result.
How can I generate high-quality AI images cheaply?
Explore at low resolution on a per-megapixel-priced model so each of your ~20 experiments costs pennies, then upscale only the one or two keepers to 4K. Because billing is per request, you pay full price only for the images you actually keep.
Why don't AI chatbot images look truly high-res?
Chat products treat image generation as a side feature and cap resolution and sharpness to keep the chat fast and cheap. Purpose-built image models generate at higher native resolution with better prompt adherence and in-image text.