

Model Details
## Room Redesign Object Edit
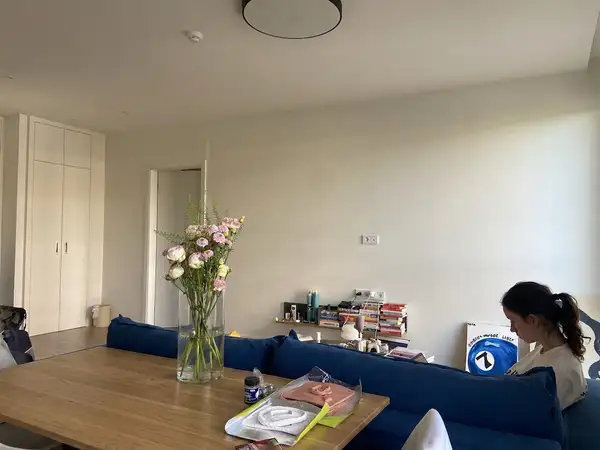
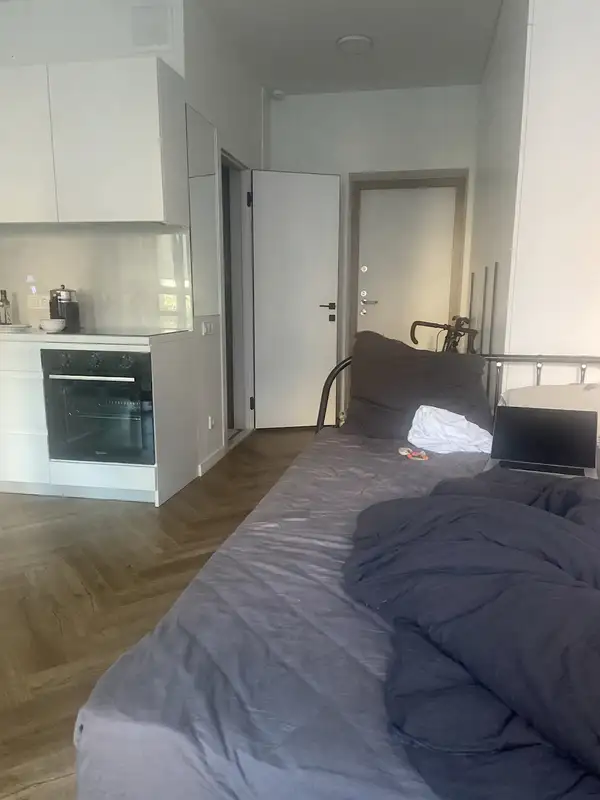
Make precise, brush-guided edits to objects in architectural and interior/exterior photographs. Perfect for designers, architects, and homeowners who want to visualize changes to specific elements in a space.
### Capabilities
- **Remove objects** – Erase furniture, fixtures, or clutter from a room and fill the area naturally. - **Change color** – Repaint walls, furniture, cabinets, or any brushed object to a new color. - **Change material** – Swap surfaces like wood to marble, fabric to leather, brick to stone, etc. - **Custom edits** – Describe any edit you want applied to the brushed area.
### How It Works
1. Take a photo of your interior or exterior space and **brush over the object or area you want to edit in bright yellow** (any image editor works). 2. Provide that brushed image as the source (`file_url`). The yellow marking only selects the region — it is removed from the final result. 3. Write a prompt describing what you want to do with the object in the yellow area. 4. Optionally set `color` or `material` to override those properties (defaults to `auto`, which preserves the current value). 5. Receive the edited image with your changes applied seamlessly and the yellow marking gone.
### Marking the Area
Brush the yellow selection using any image editor (e.g., Photoshop, GIMP, Figma, Procreate, or even MS Paint): - Open your source photo. - Use a **bright yellow** brush to paint over the object or area you want to edit. - **Paint at full opacity.** The stroke must be solid, saturated yellow (around `#FFD400` — red and green high, blue near zero), not a translucent tint that lets the photo show through. A see-through marker is the single most common cause of a weak or ignored selection: the edit may be applied to the wrong thing, or the model may simply wipe the tint off and leave the object untouched. - Cover the whole object you want affected — you don't need to be pixel-perfect, just stay within it. - **Mark only the target.** Do not wash the marker over most of the frame; a selection covering nearly the whole photo carries no information about what you meant. - Save and upload. The yellow guides the edit and won't appear in the output.
### Use Cases
- Visualize a kitchen with different countertop materials - Preview wall color changes before painting - Remove unwanted furniture from a staging photo - Swap flooring materials in a living room - Test exterior siding or roofing alternatives - Change cabinet finishes or hardware styles - Preview different tile or backsplash options