
Model Details
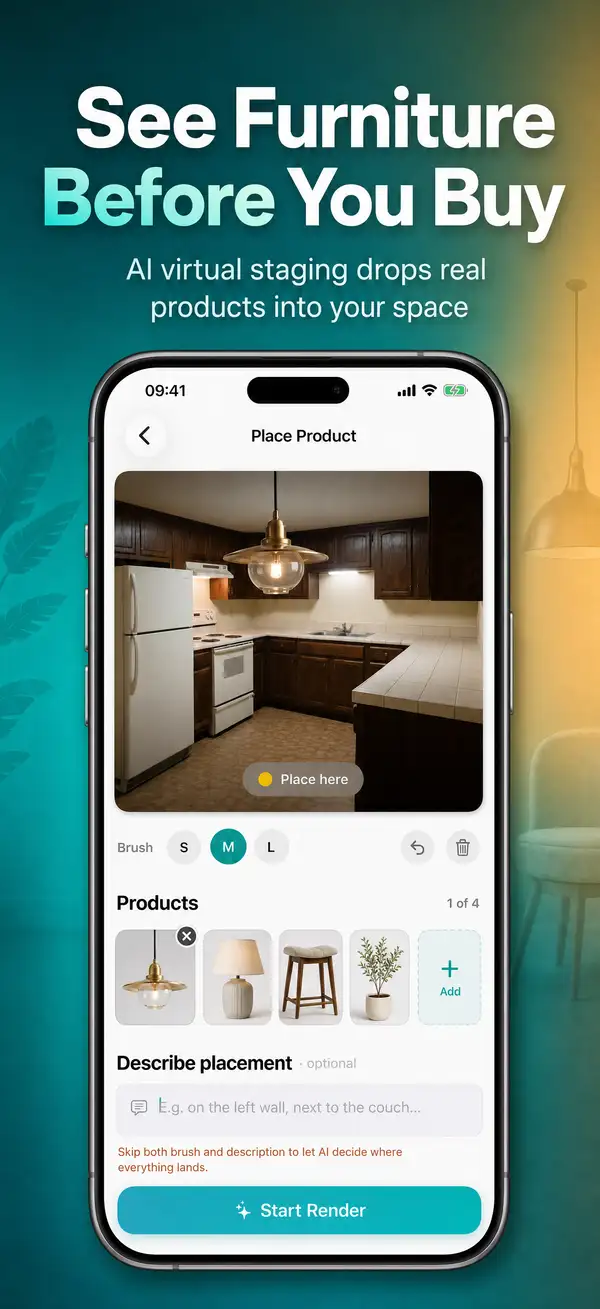
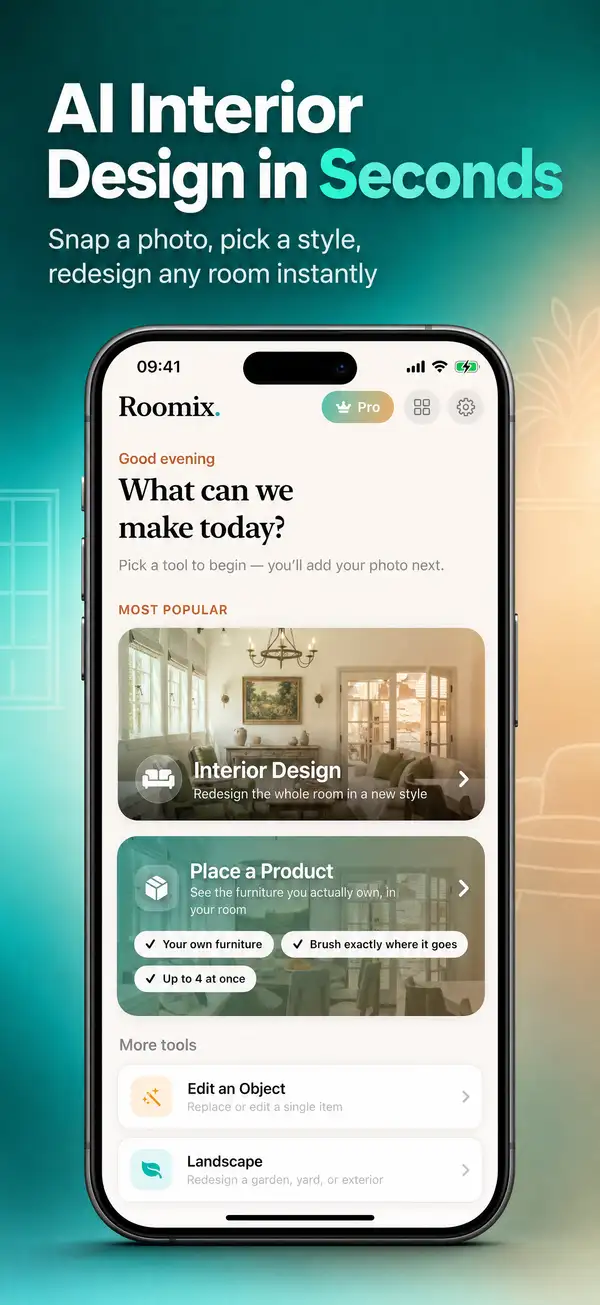
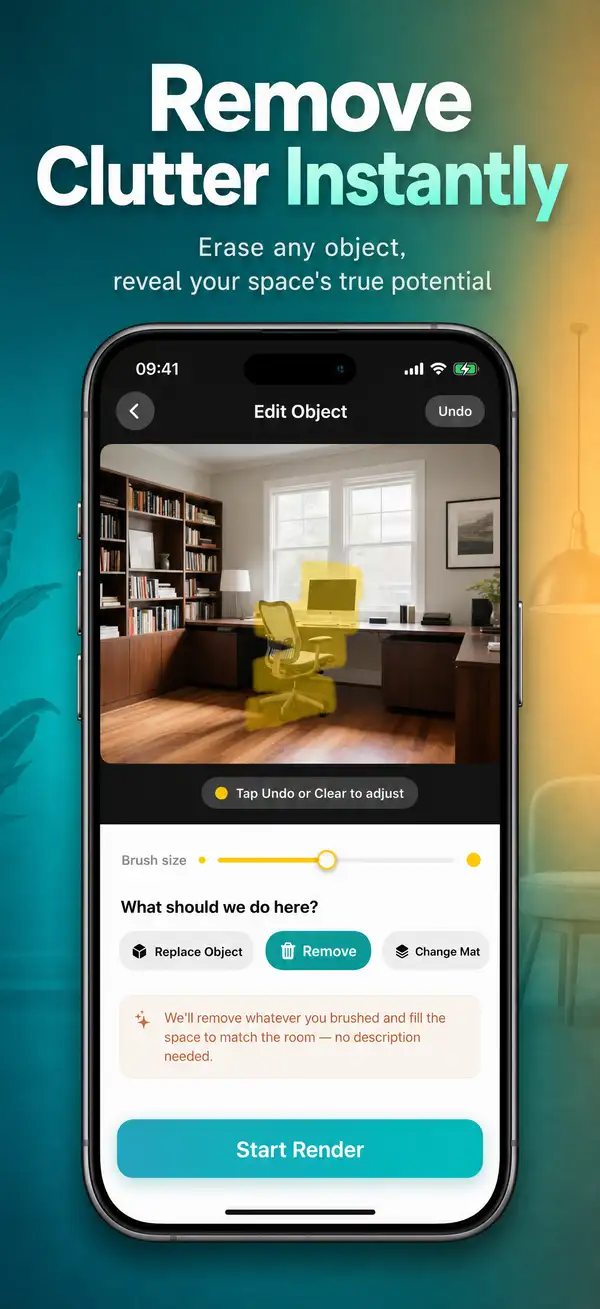
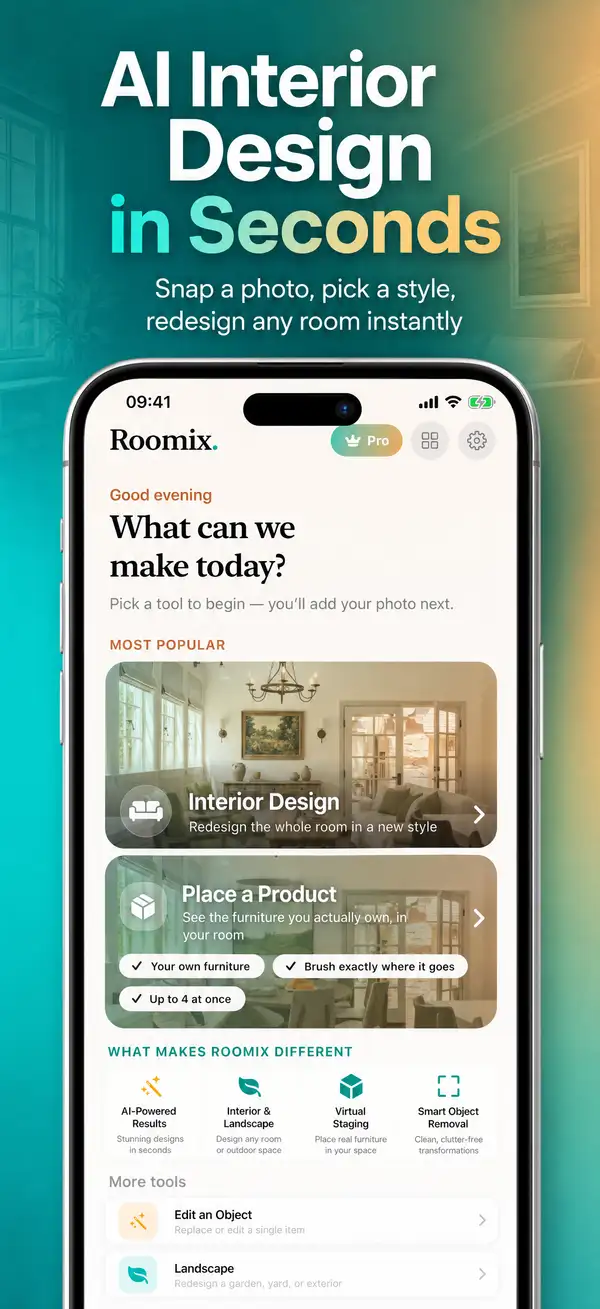
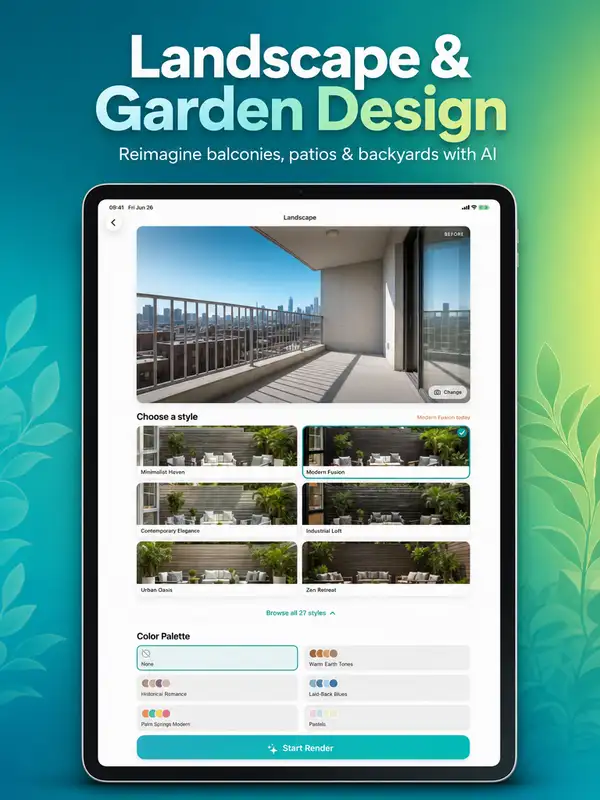
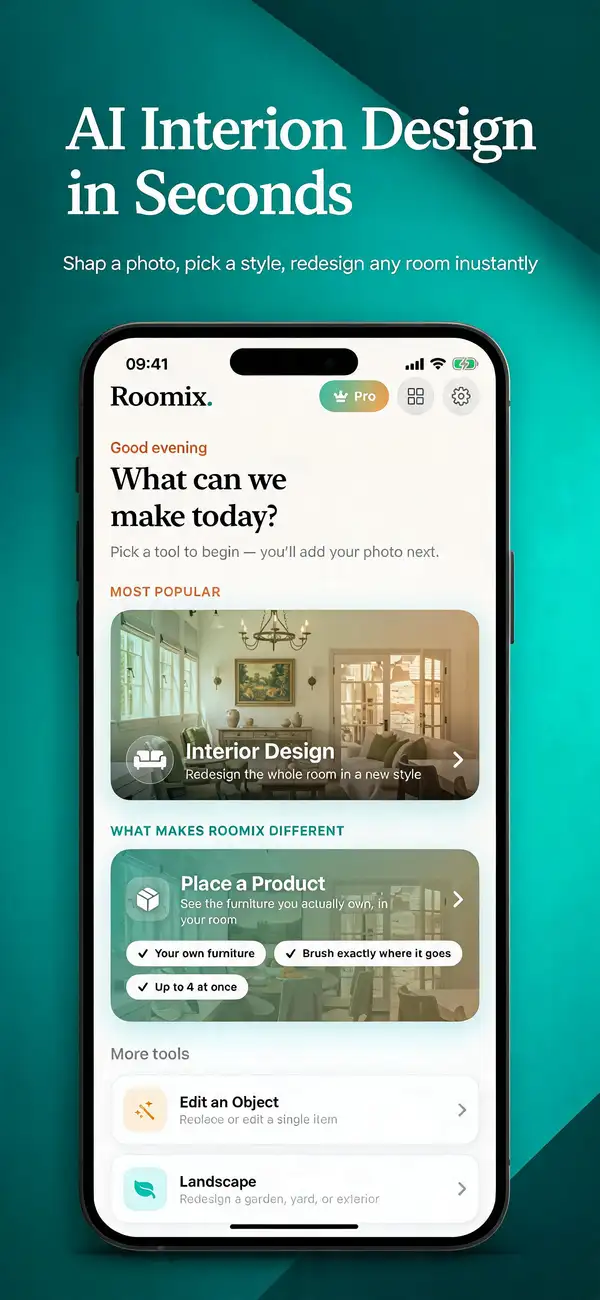
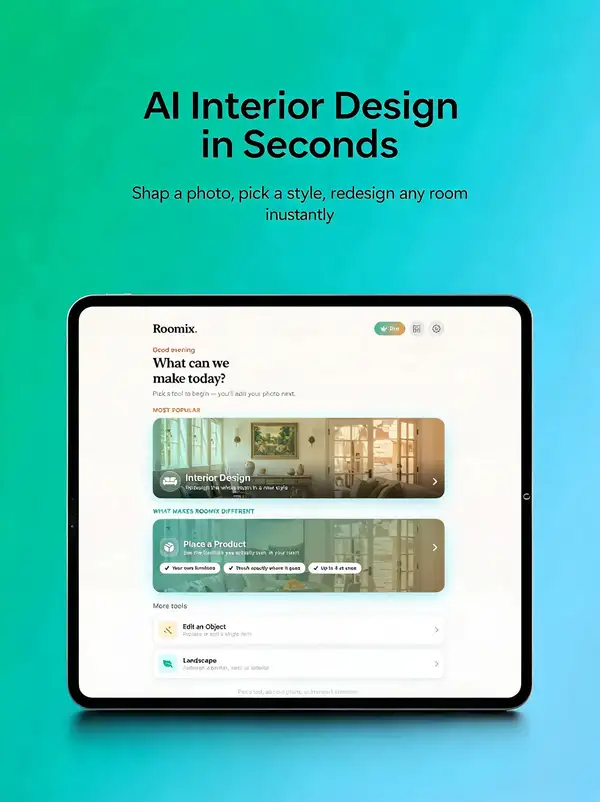
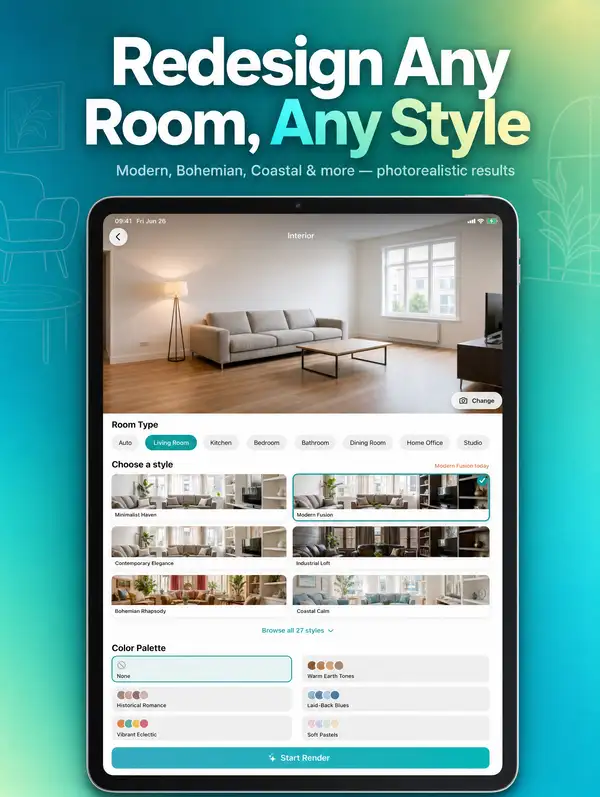
Turn a real app screenshot into a polished, App-Store-ready marketing image. Upload your real app UI screenshot and it is composed into a clean device mockup (or full-bleed) on a designed background, with a generated or supplied headline sized for the target App Store device.
NAME YOUR SCREENSHOT FILE MEANINGFULLY (important for MCP/API callers):
The model uses the uploaded screenshot's file name as a hint about what the screen is. Generic names like `image_3123.jpg`, `screenshot_2.png`, or `IMG_0042.png` carry no signal — the model cannot infer the page or feature from them, which weakens headline generation and contextual styling. At minimum, name the file after the page it shows, e.g. `home-feed.png`, `product-detail.png`, `checkout-cart.png`, `onboarding-welcome.png`. A descriptive name (plus optional `application_details`) lets the model write a far more relevant headline and pick fitting decorative accents.
How to use — generating a CONSISTENT SET (the right way):
App Store listings need a cohesive set of screenshots, not unrelated one-offs. Do NOT just run every screenshot in parallel with no shared context — that produces mismatched backgrounds, palettes, and typography. Instead:
1. Count how many screenshots you need. 2. Plan the whole set up front: write that many cohesive headline (and optional subheadline) pairs that tell one story across the set. 3. Generate screenshot #1 FIRST, with NO style_reference — this becomes your hero/anchor. 4. Take screenshot #1's OUTPUT image and pass it as `style_reference` for every remaining screenshot (#2..#N). Use the SAME anchor for all of them — do not chain each one to the previous output (chaining drifts).
Other tips: - Set `device` to your target (iphone_6_9 / iphone_6_5 / ipad_13); it sets exact output pixel dimensions. - Each `variants` option is a separately billed output image — lower it to 1 for a single, cheaper result. - Turn off `device_frame` for full-bleed screens; it reduces UI redraw and keeps your UI pixel-exact.